|
User Manual
|
||||||
|
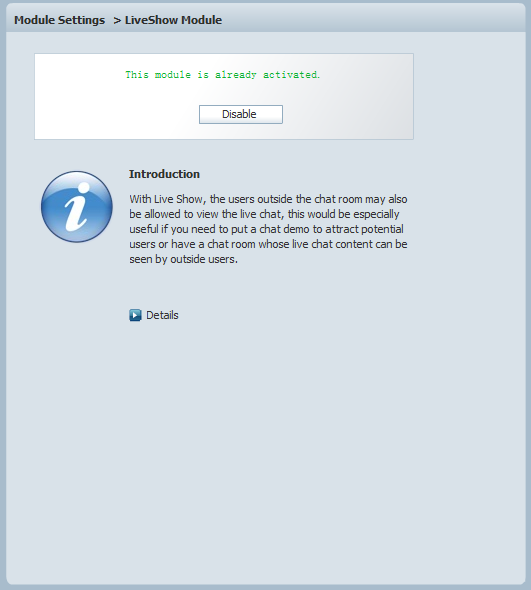
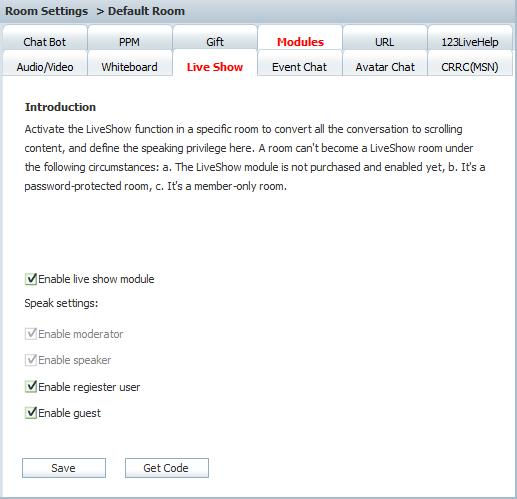
Live Show ModuleYou can activate/deactivate Live Show Module in this panel. With Live Show, the users outside the chat room may also be allowed to view the on-going chat inside the room, this would be especially useful if you need to put a chat demo to attract potential users or have a chat room whose live chat content can be seen by outside users. Click the “Room Settings” node and select whichever chat room you want to set up. You will see the “Modules” from its right side. Clicking it, the “Live show” tab will appear. Then click the “Live show” tab, you can define the words of the particular types of users (including moderators, speakers, regular members) to display or not in live show. As you see the “Enable moderator” and “Enable speaker” has been checked as default. You can check other 2 items and then don’t forget to click the “Save” button.
And then, let’s click the “Get code” button to go to the Code Generator.
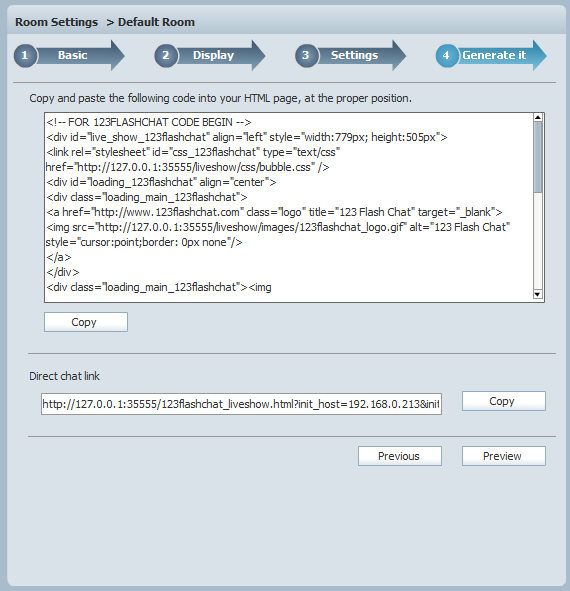
Here, you’re getting the default length and theme for the live show code. If you want to set your own settings, please click the “Previous” button for several times to achieve them. As the below illustration shows. The left side chatting contents are the same as the contents of the Live Show box. When a new chatting message is entered to the left side, the Live Show Box contents will be refreshed simultaneously.
The Live Show code is based on the HTML web-page, its color, skin and even the style can be easily customized and it can be seamlessly integrated with a website, either floating or embedded. Related links:
|
|||||
 |
 |


Copyright @2001-2011 TopCMM Software Corp.